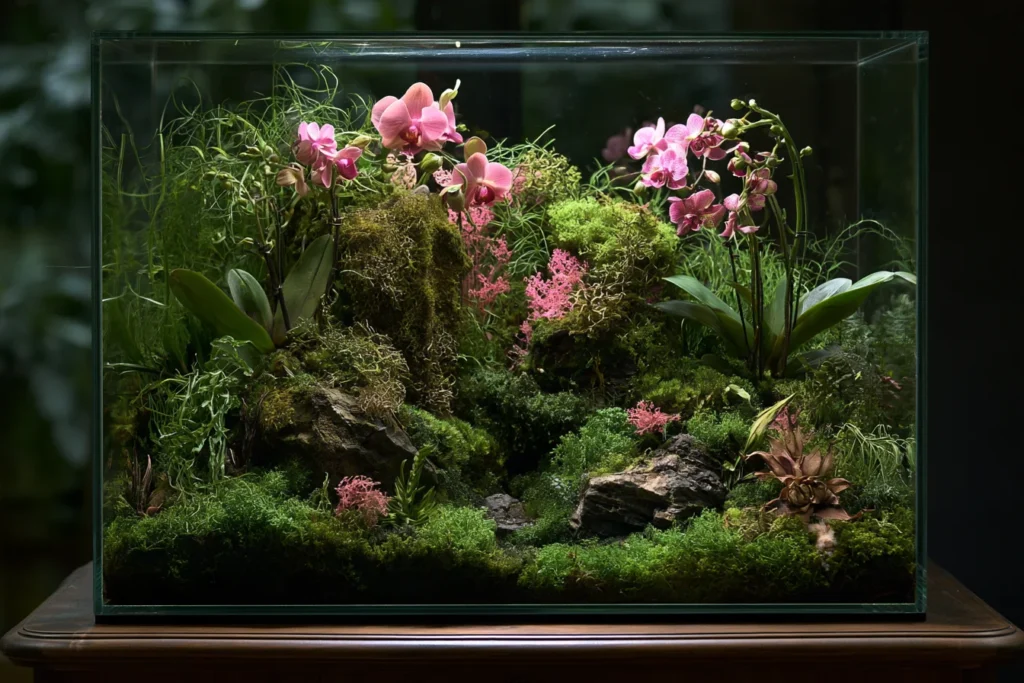
A miniature orchid glass terrarium can transform an ordinary shelf, desk, or windowsill into a living decorative scene. Within the clear boundaries of a vessel, an orchid becomes part of a carefully composed landscape rather than an isolated houseplant. Moss, stones, bark, roots, and filtered light can suggest a woodland floor in remarkably little space, while the glass creates a sense of discovery. The result is a small world that invites close observation and brings a quiet touch of wonder into everyday life.
Planning Your Design and Vessel
Before purchasing supplies, choose a visual theme and consider where the finished piece will be viewed. A misty forest floor might emphasize rich greens and textured bark, whereas an enchanted garden could include softer colors and a more playful arrangement. A moonlit grove may suit silvery stones and cool lighting, while a minimalist botanical display may rely on one orchid and a few restrained accents.
The glass vessel establishes the terrarium’s scale, ventilation, accessibility, and visual character:
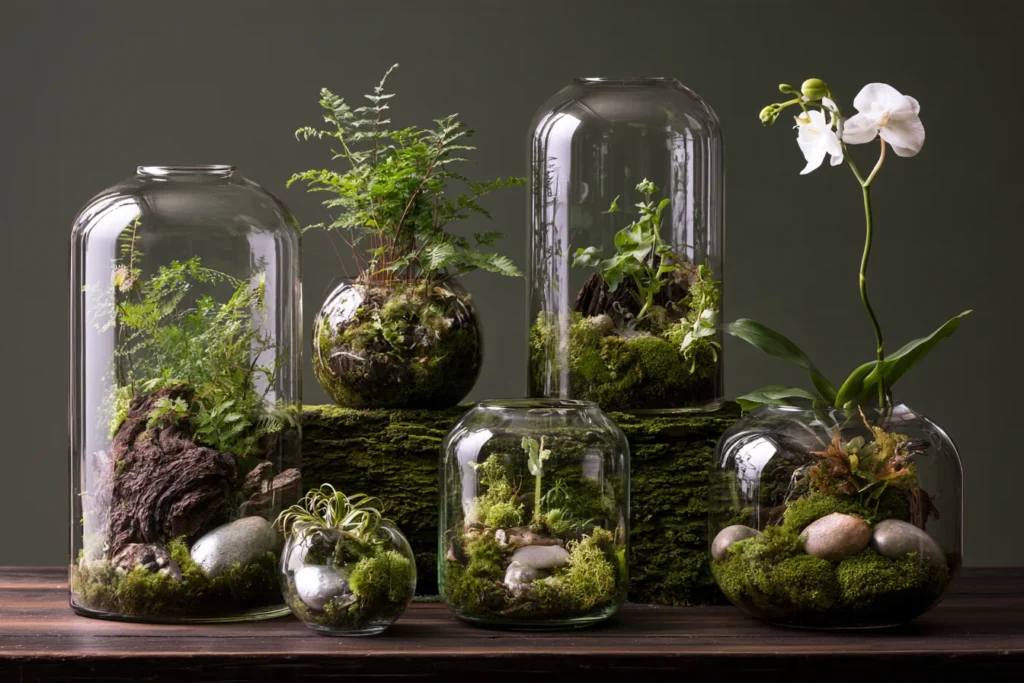
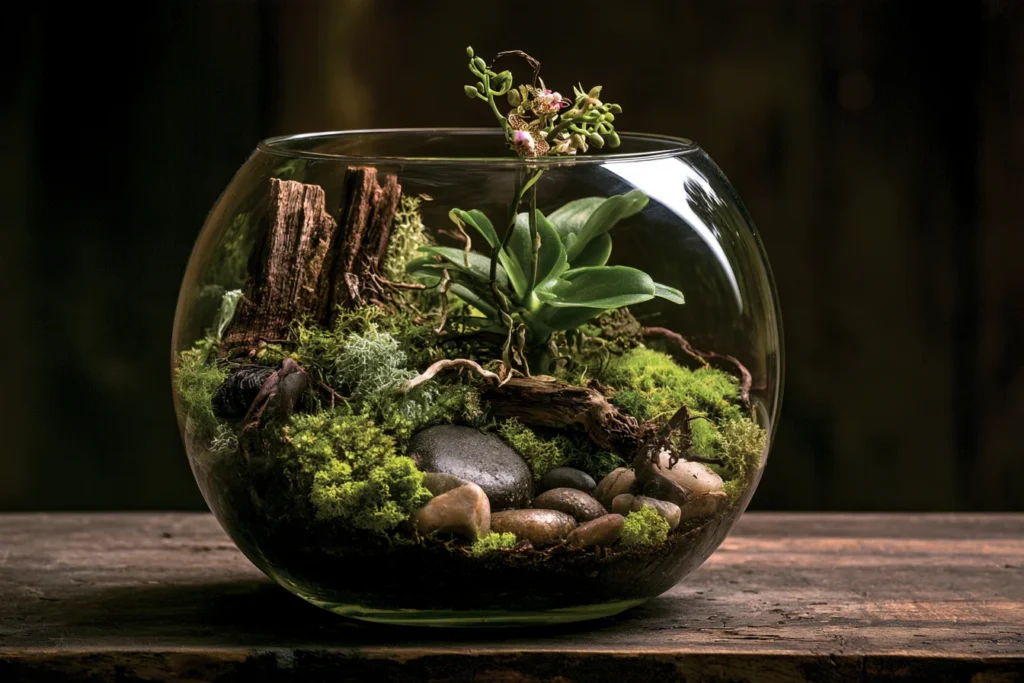
- Open glass bowls: Provide a broad planting area and make watering, pruning, and inspection straightforward.
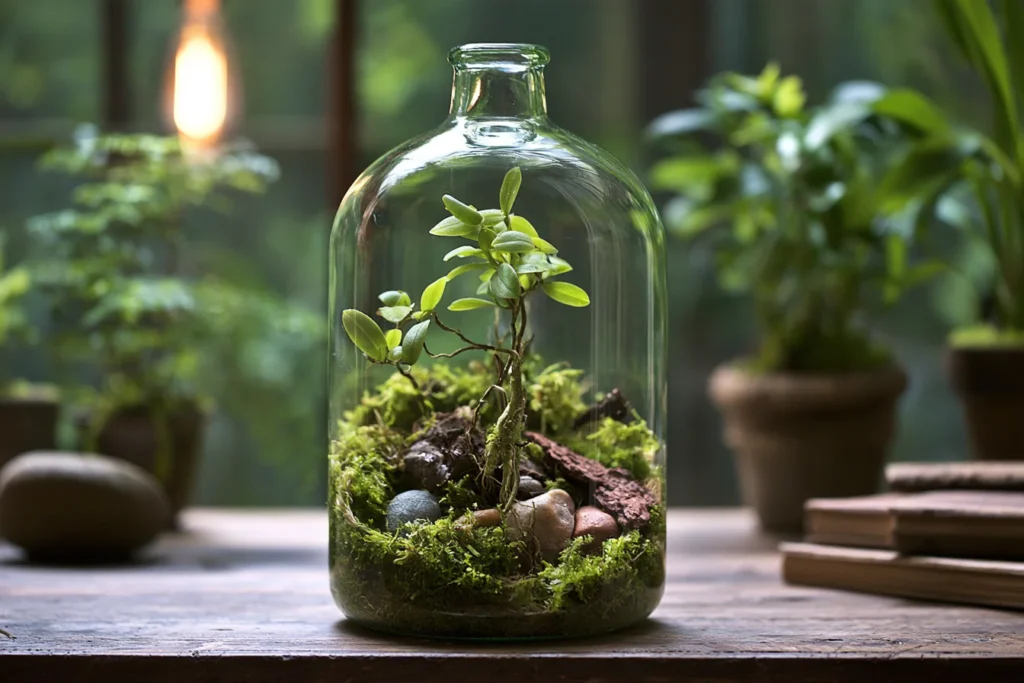
- Cloches: Offer height but may require careful placement to prevent excessive condensation.
- Lantern-style vessels: Introduce architectural detail and useful vertical space, though narrow openings can complicate maintenance.
- Hanging globes: Create an airy, sculptural display suited to very small orchids, but limited access makes moisture control demanding.
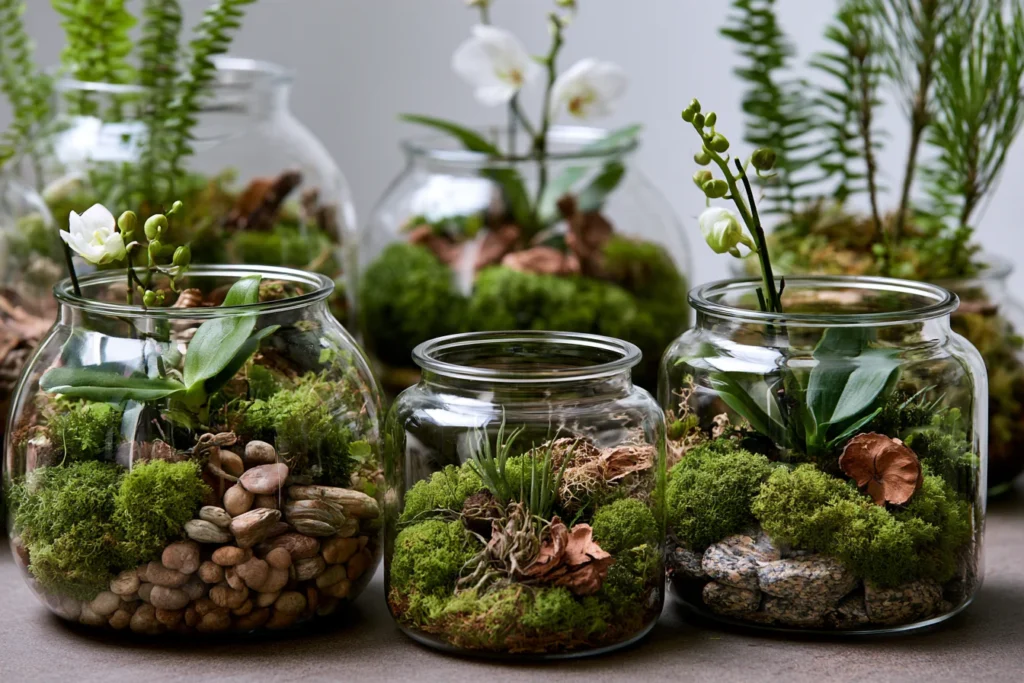
- Wide-mouth jars: Balance enclosure with practicality and are generally easier to arrange than narrow-necked containers.
Open or partially open designs are usually the most forgiving because steady air circulation reduces stagnant humidity and the risk of fungal or bacterial problems.
Selecting the Right Materials
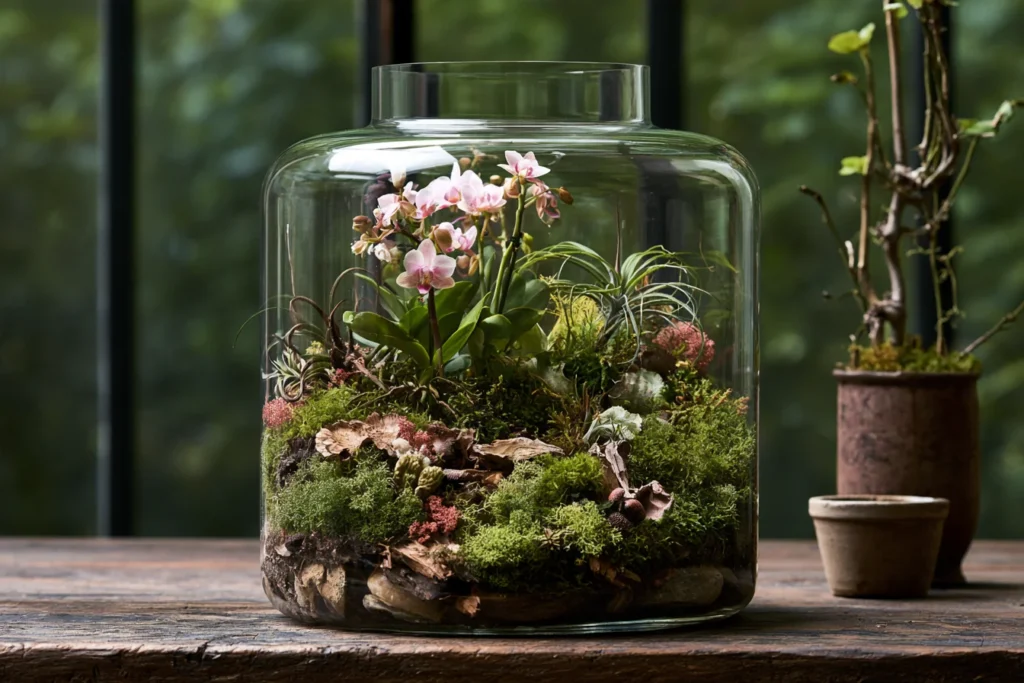
It is important to distinguish a fully living terrarium from a decorative hybrid arrangement. Orchids need suitable moisture, airflow, drainage, and light, while preserved moss and dried materials do not. Planning these zones carefully protects both the plants and the decorative materials.
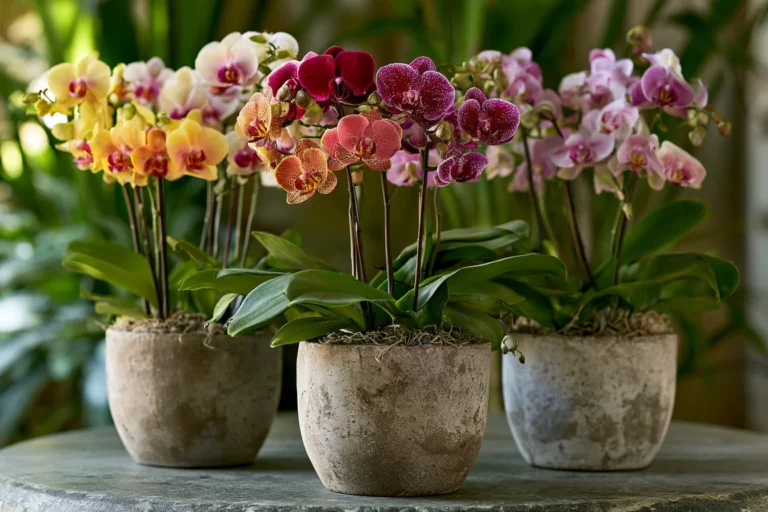
- The Orchid: Choose a miniature variety with naturally compact growth, healthy green leaves, firm roots, and no evidence of pests, rot, or damaged foliage. It should fit comfortably within the vessel with enough clearance for leaves and flowers to remain visible.
- The Foundation: Use orchid bark, a restrained amount of sphagnum moss, drainage stones, and a thin layer of charcoal where appropriate.
- Decorative Accents: Pebbles, cork, twigs, and small ceramic pieces can add structure and scale. Keep dyed or chemically treated moss away from standing water and delicate roots, since colorants may leach into the planting area.
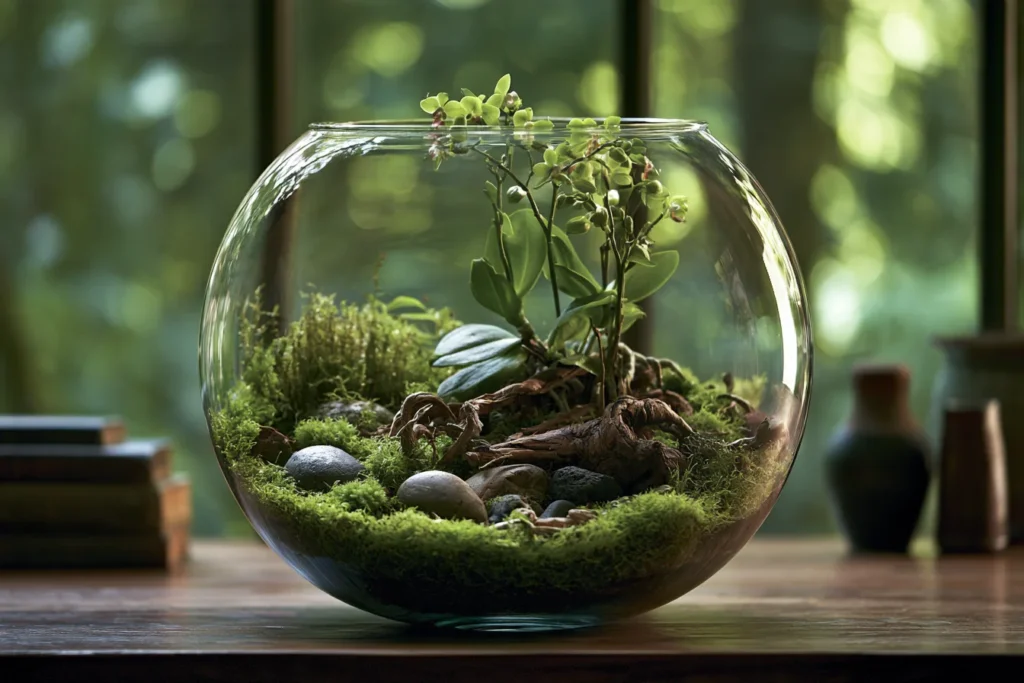
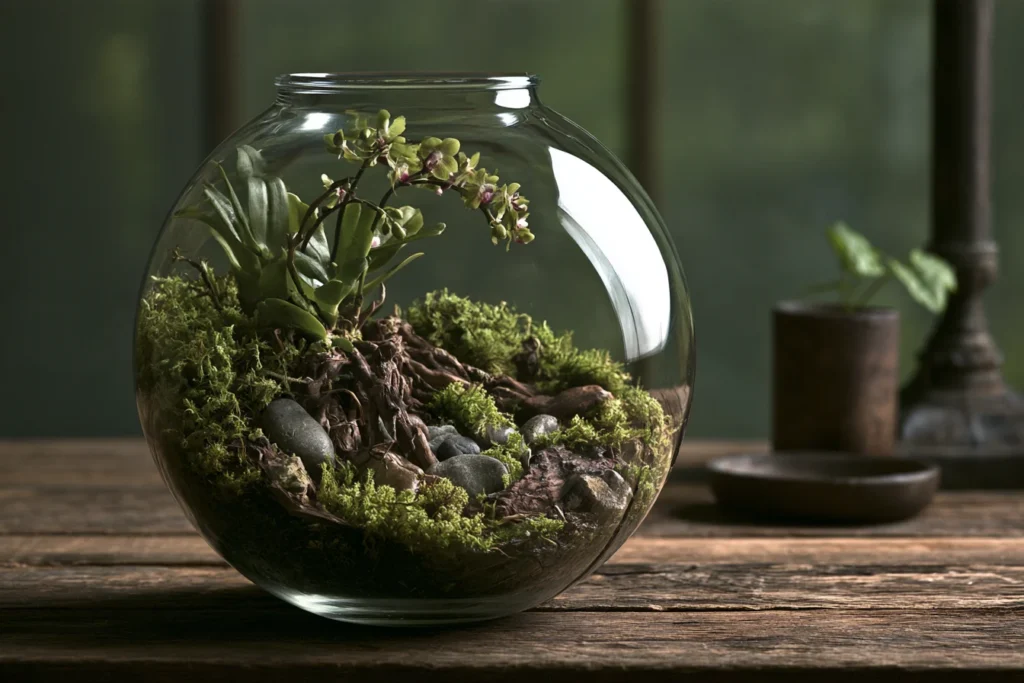
Material selection should create contrast while maintaining a coherent palette. Varying smooth and rough surfaces gives the miniature landscape depth, but proportion remains essential: the orchid should be the focal point, with supporting elements framing rather than concealing it.
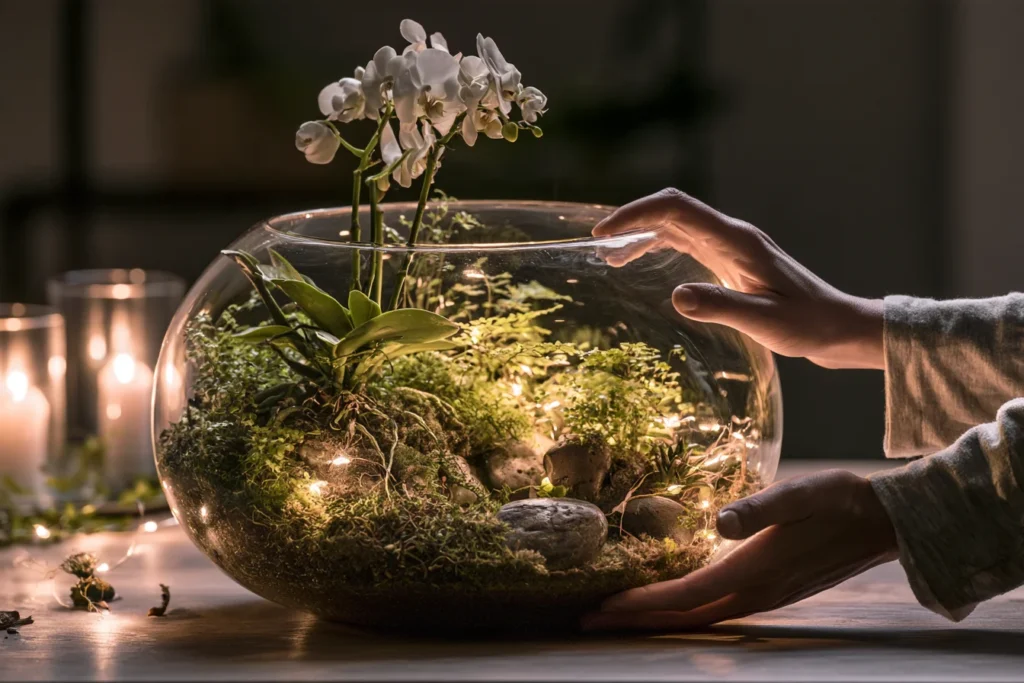
Step-by-Step Assembly
- Prepare the Vessel: Wash the glass with mild soap and warm water, rinse thoroughly, and allow it to dry completely. Moisture, dust, and cleaning residue can encourage mold or leave cloudy marks.
- Create the Base: Add a shallow layer of drainage material, such as clean gravel or expanded clay, followed by a small amount of bark if the orchid will remain in its growing medium. For a mounted orchid, secure a piece of cork or a natural branch as the primary structure.
- Position the Plant: Place the orchid so its leaves and blooms have room to develop without pressing against the glass. Keep the roots loose rather than compressed, and use a removable mount or inner pot whenever possible to allow for easy watering and inspection.
- Build the Landscape: Set larger stones, cork pieces, or branches toward the back or one side. Use preserved moss to soften edges and frame the orchid. Keep the orchid crown uncovered, leave air around the leaves, and prevent moss from trapping water against the plant. An asymmetrical arrangement generally appears more natural than evenly spacing objects.
- Add Lighting and Final Touches: Test battery-operated, low-heat micro-LED strands before installing. Place the lights around the outer rim or behind the vessel rather than tightly wrapping wires around the orchid. Keep every electrical component dry, conceal the battery pack for easy access, and wipe fingerprints from the glass.
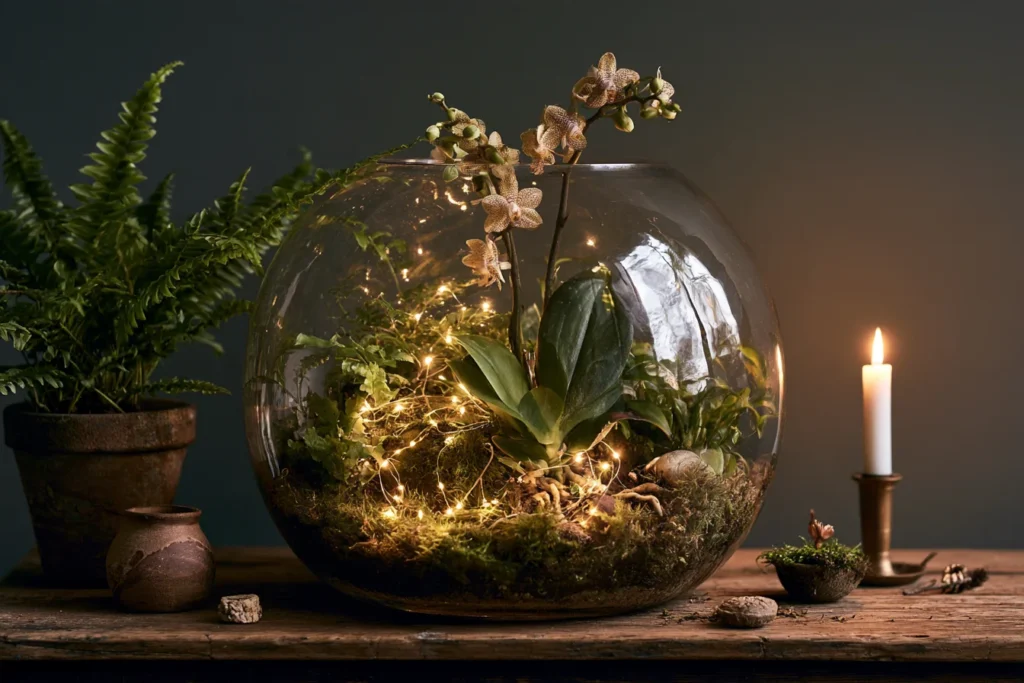
Ongoing Care and Maintenance
An orchid terrarium needs regular observation rather than constant intervention.
- Light and Ventilation: Place the terrarium in bright, indirect light, protecting the glass from harsh midday sun that can raise internal temperatures. Prolonged condensation on the glass usually indicates insufficient airflow, while a constantly damp environment encourages mold.
- Watering: Water only when the growing medium has begun to dry. Never allow water to pool at the bottom of the decorative vessel. If the design makes thorough watering difficult, remove the plant from the display vessel, water it separately, and return it only after excess water has drained.
- Health Assessment: Healthy leaves are generally firm and appropriately colored. Limp foliage, mushy roots, yellowing leaves, persistent dampness, or declining flowers can indicate overwatering or poor airflow and require prompt attention.
- Routine Maintenance: Dust the glass, artificial foliage, and preserved moss carefully, avoiding pressure on the orchid. Trim spent flowers or declining leaves with clean tools, rotate the display periodically for even light, and adjust your watering schedule for seasonal changes.
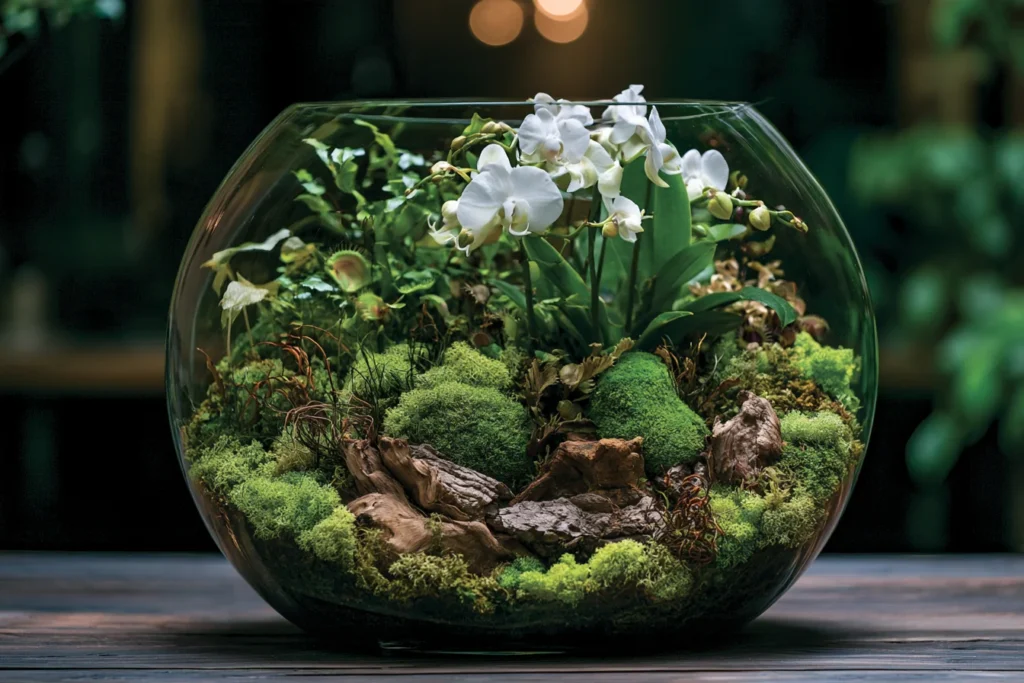
An Evolving Ritual
Care can become an evolving ritual rather than a chore. Switch on fairy lights during an evening routine, refresh small natural accents as they weather, and adapt the composition as the orchid produces new leaves, roots, or flower spikes. By allowing the miniature landscape to change gradually, the terrarium remains both a healthy growing environment and an emotionally meaningful living scene.