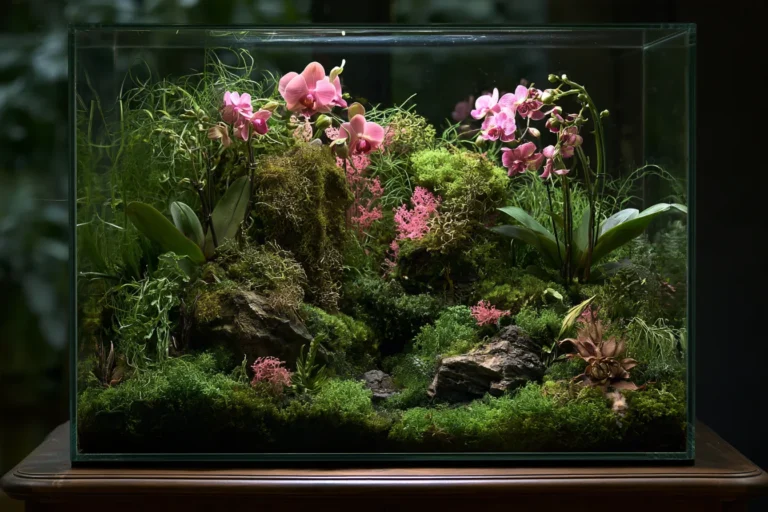
Watering an orchid is relatively straightforward when the plant grows in a conventional individual pot with visible drainage holes. However, caring for an orchid in a decorative arrangement is more demanding because the growing environment is often partly or completely hidden.
To keep your orchid thriving in a decorative bowl, cachepot, or moss display, you must adapt your watering technique to ensure proper hydration, drainage, and airflow.
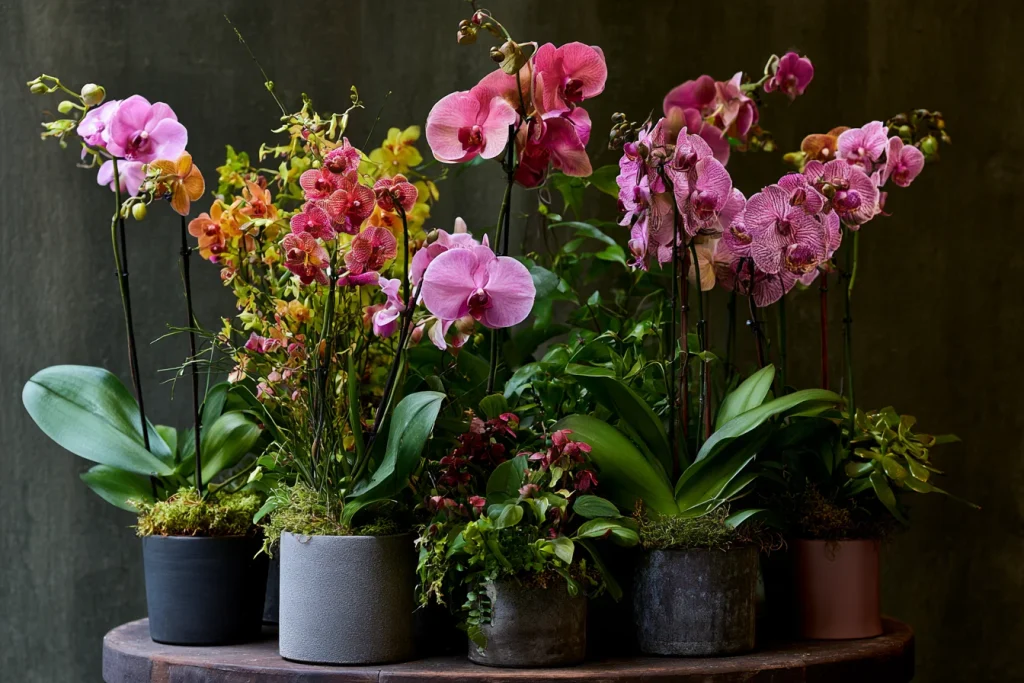
Understanding Your Orchid Arrangement
Before watering, identify how the orchid is situated within the display. The setup dictates your care approach:
- Removable Nursery Pot: The orchid sits inside a plastic pot with drainage holes, placed within a decorative outer container. This is the easiest to maintain.
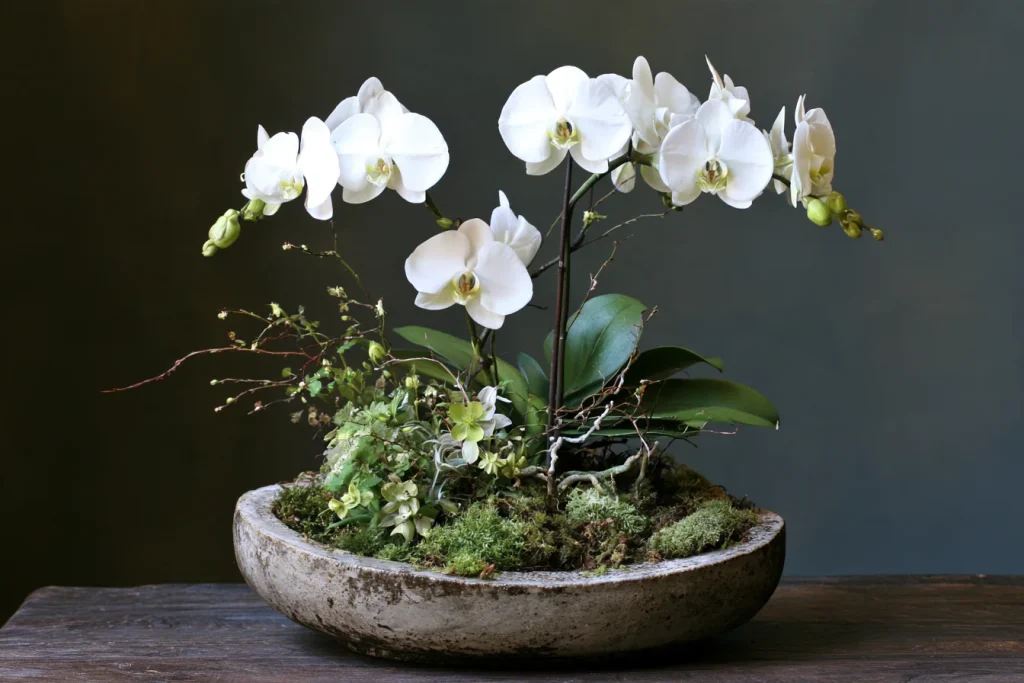
- Direct Planting: The orchid is planted directly into the decorative container, which may lack drainage holes, allowing runoff to collect at the bottom.
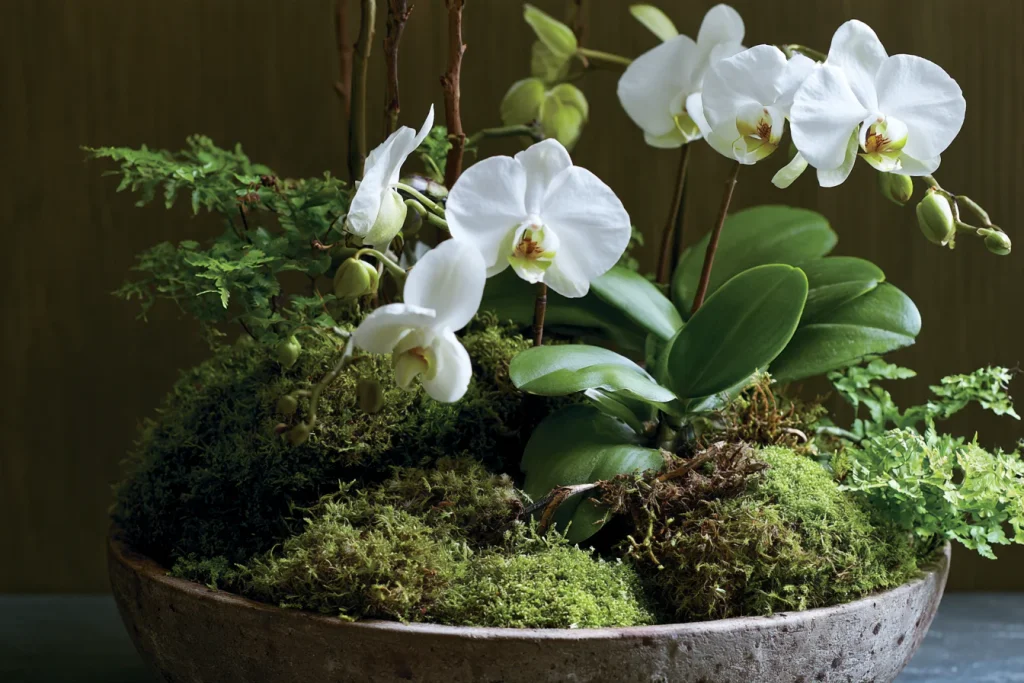
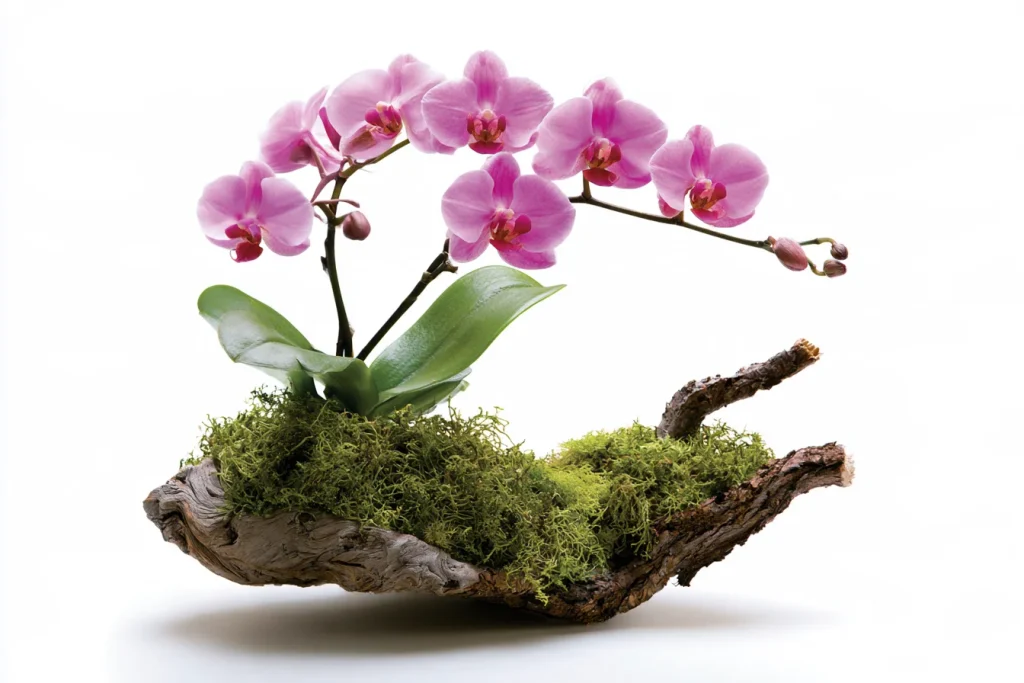
- Mixed Media Displays: The orchid is surrounded by moss, stones, foliage, or other plants. Moss retains moisture much longer than coarse bark, and neighboring materials dry at different rates.
The central challenge in arrangement care is preventing orchid roots from remaining wet for too long. Water trapped inside a container can remain unnoticed around the crown, stem, or hidden lower roots, creating ideal conditions for rot even when the surface appears dry.
The Golden Rules of Arrangement Care
The primary goal is to hydrate the root system thoroughly, allow surplus water to escape, and ensure air circulates around the roots.
- Observe, Do Not Schedule: Watering decisions should respond to observable conditions rather than a fixed calendar. Temperature, humidity, light, and the type of display drastically change drying times.
- Check the Weight: Lift the arrangement before watering and compare its weight to how it feels after a thorough watering and drainage. A noticeably lighter container indicates the roots and medium have used most of the available moisture.
- Inspect the Roots: Healthy, hydrated orchid roots commonly appear green, while dried roots become silvery or pale.
- Use the Skewer Test: For hidden roots, insert a clean wooden skewer into the bark or moss, then remove it carefully. Darkened, cool, or damp material on the skewer signals that watering can wait.
Step-by-Step Watering Guide
Scenario A: The Inner Pot Can Be Removed
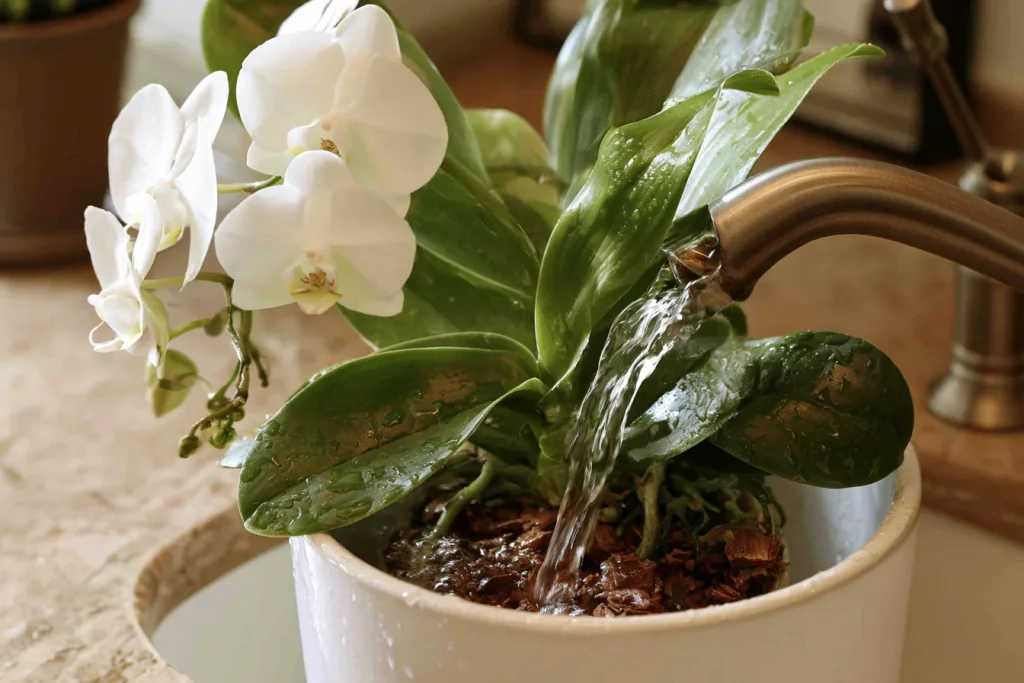
Whenever possible, lift the inner orchid pot out of the arrangement before watering.
- Place the inner pot over a sink.
- Use lukewarm water, directing the flow across the growing medium rather than the leaves. Avoid cold or hot water, which can stress the plant.
- Allow water to run through the bark or medium until it is evenly moistened and the roots have absorbed moisture.
- Keep the pot over the sink until drainage slows substantially.
- Allow the container to drain completely before placing it back inside the decorative bowl. The outer container must remain entirely free of standing water.
Scenario B: The Orchid Cannot Be Removed
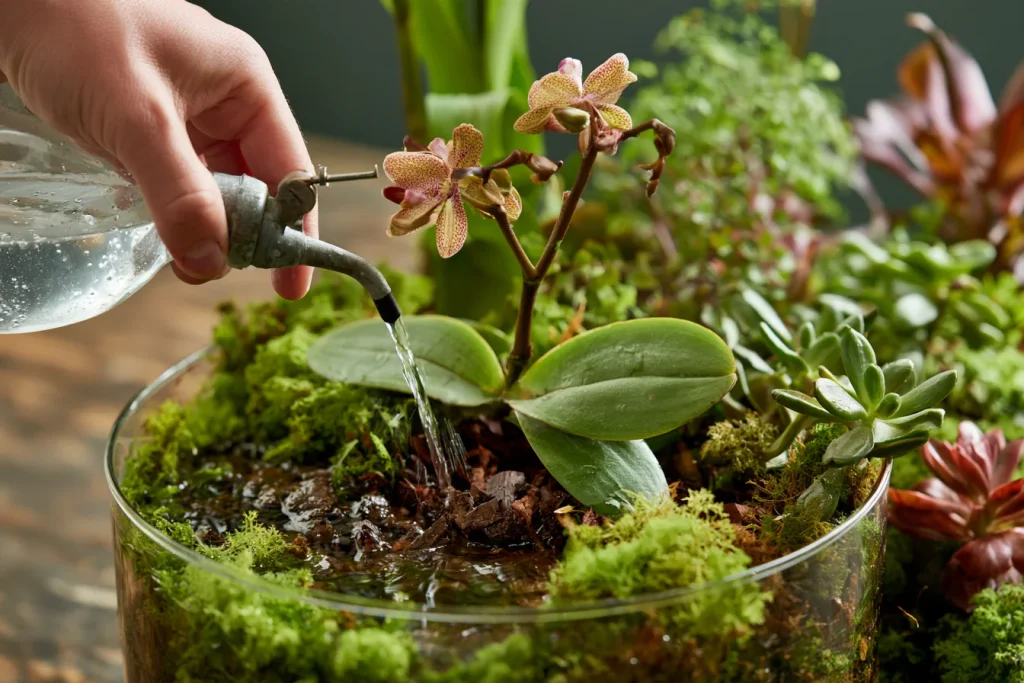
If the orchid is planted directly into the display, use a controlled approach to avoid soaking inaccessible tissue.
- Use a narrow-spout watering can, squeeze bottle, or syringe.
- Direct a small amount of water onto the medium, keeping it strictly away from the crown and the joints where leaves meet the stem.
- Work in several small passes rather than flooding the arrangement. Pause between passes so moisture can spread through compact bark or moss.
- Inspect the base of the display for concealed runoff and remove any trapped water immediately using folded absorbent towels or a turkey baster.
Managing Moss and Decorative Media
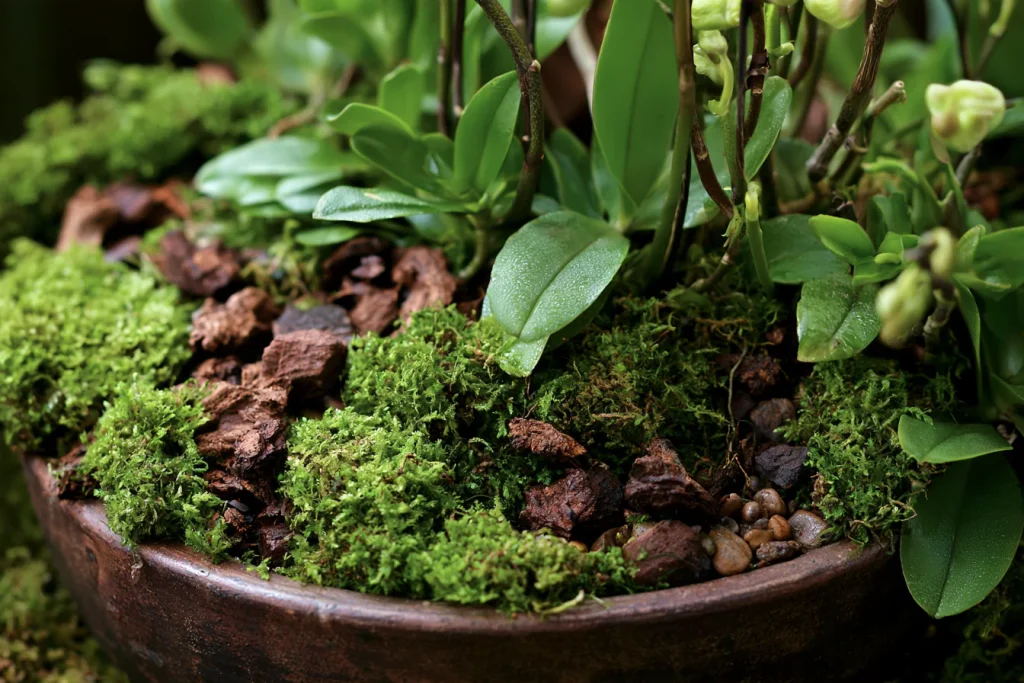
The type of medium used in your arrangement heavily influences watering needs:
- Orchid Bark: The most breathable option. Excess water drains through its coarse pieces, allowing air to circulate around the roots.
- Sphagnum Moss: Holds considerably more moisture and should be used loosely rather than packed tightly.
- Decorative Sheet Moss: Retains water at the surface but offers little useful drainage. It should not replace the orchid’s actual root medium.
- Floral Foam: Can stay saturated and restrict airflow, increasing the risk of root rot.
- Pebbles: Improve presentation but provide almost no moisture control or drainage by themselves.
Keep the orchid’s root medium loose, open, and appropriate for epiphytic growth. If the outer vessel collects water, use a spacer or raised platform beneath the inner pot so its base does not stand in a reservoir.
Environmental Factors and Ventilation
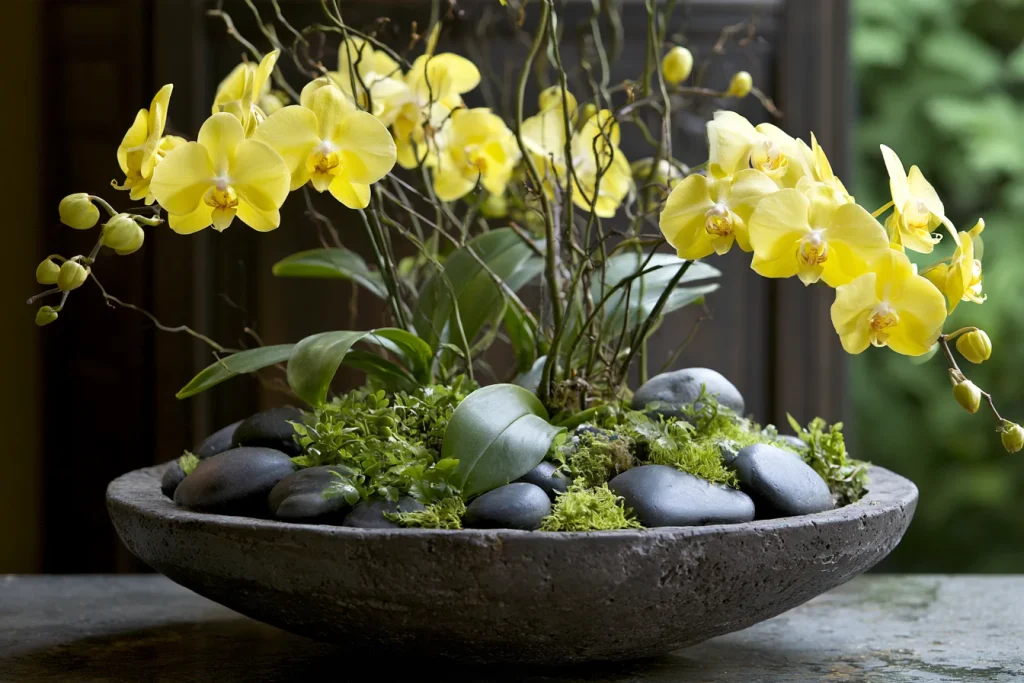
Ventilation is especially important in deep containers, where humidity can remain high around both leaves and roots.
- Position the display in bright, indirect light with moderate temperatures and good air movement.
- Warmer, brighter, better-ventilated locations dry faster than cool, dim spaces. Adjust your watering intervals to reflect these conditions.
- Remember that ambient humidity does not replace watering. Frequent misting may leave the crown and foliage wet while providing little moisture to the root zone. Always water the roots thoroughly when they are ready, then allow excess water to drain completely.
Diagnosing Orchid Health Issues
Promptly identifying stress allows you to correct the environment before permanent damage occurs.
Signs of Overwatering and Poor Drainage
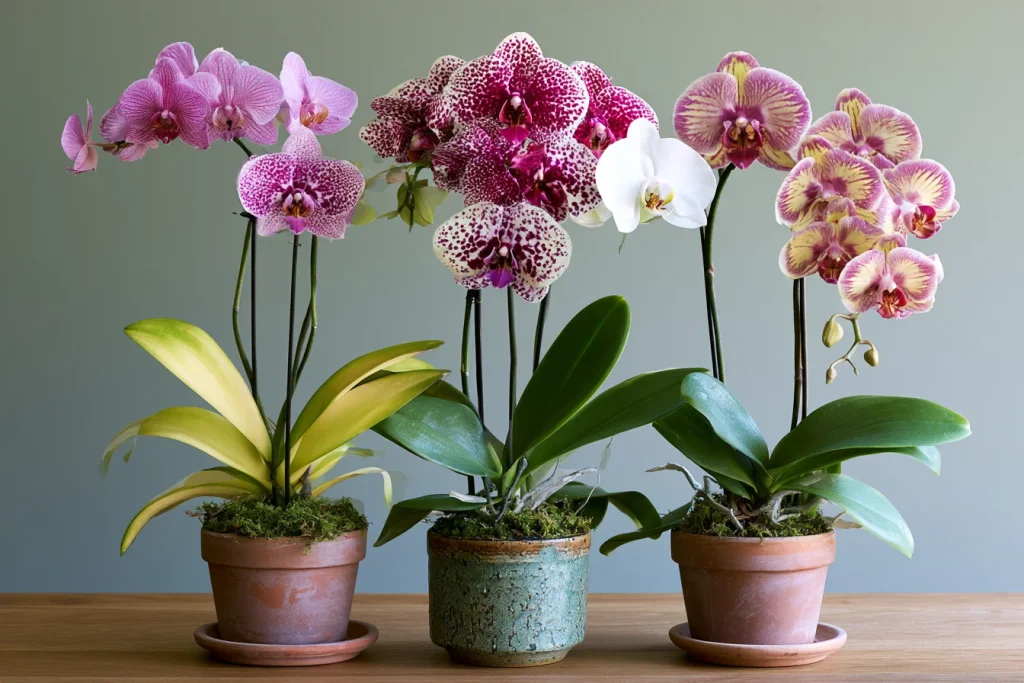
- Yellowing lower leaves
- Soft, brown, or mushy roots
- A sour odor, algae, or mold on the medium
- Medium that remains wet for extended periods
- Action: Remove standing water immediately, improve airflow, increase drainage, and repot the orchid in fresh, suitable medium after trimming damaged roots.
Signs of Underwatering
- Limp or wrinkled leaves
- Shriveled, dry roots
- An unusually lightweight pot
- Bone-dry moss or bark
- Action: Rehydrate gradually, allowing water to pass through the medium and drain fully. Severely dry material may need a careful second application rather than prolonged soaking.
Essential Arrangement Care Checklist
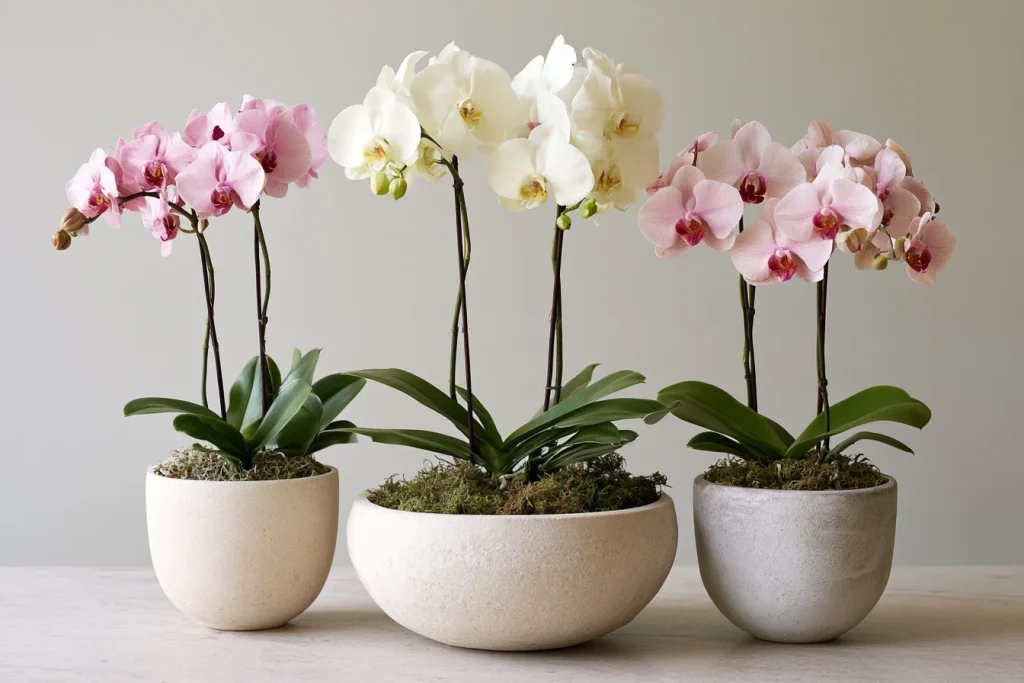
To ensure your decorative display supports the orchid’s appearance without preventing essential access to its roots, follow this practical checklist:
- Utilize an inner pot with adequate drainage holes whenever possible.
- Protect the crown tissue from standing water and moisture accumulation.
- Ensure there is no hidden runoff trapped in the decorative cachepot or bowl.
- Keep planting material appropriately moist, never waterlogged.
- Periodically remove the orchid from its decorative display for a thorough root inspection.
- Never bury the crown, compress aerial roots against the container, or allow moss to remain continuously packed against the stem.
By prioritizing observation, proper drainage, and airflow, you can maintain a stunning orchid arrangement that thrives long after the initial purchase.